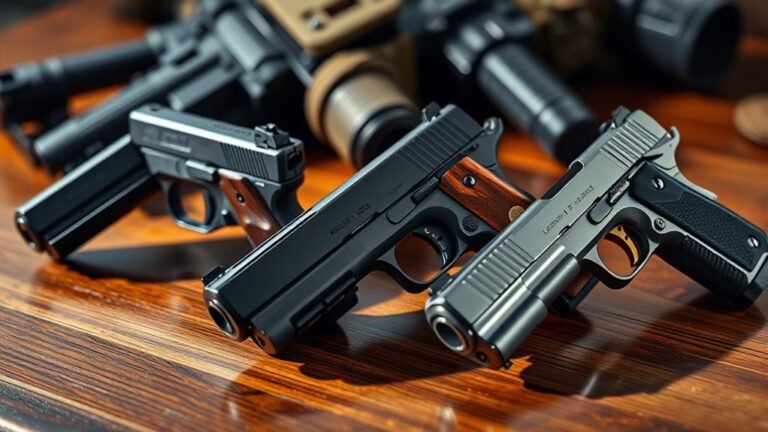
10 Steps to Use a Red Dot on Your Pistol
To use a red dot on your pistol effectively, start by securely mounting it with the right adapter and verify it’s aligned with the bore.
Zero your sight at about 10 yards using a stable platform, making small adjustments until the point of aim matches the impact.
Focus on the target, not the dot, keeping both eyes open for better awareness.
Practice smooth drawing and trigger control while regularly checking mounts and batteries.
Follow these steps, and you’ll soon build speed and accuracy with your red dot.
Key Takeaways
- Ensure the red dot sight is properly mounted and securely aligned with your pistol’s bore before use.
- Zero the red dot at a practical distance, such as 10 yards, for accurate point-of-aim and point-of-impact.
- Practice focusing on the target while keeping both eyes open to enhance speed and situational awareness.
- Train smooth, consistent drawing and presentation to quickly acquire the red dot on target.
- Maintain the sight by regularly checking mounts, cleaning the lens, and replacing batteries proactively.
Get Your Pistol and Red Dot Ready to Go
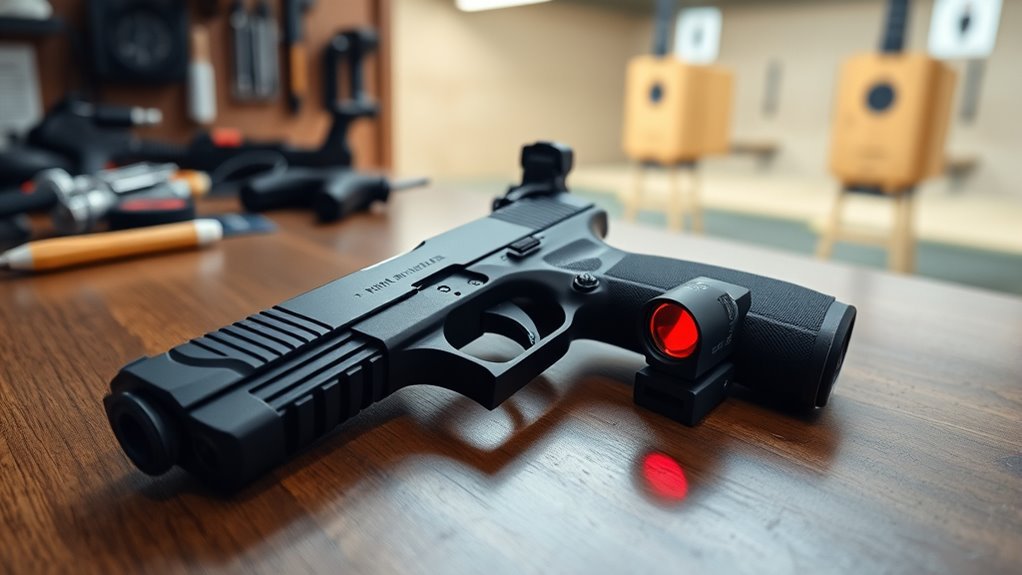
Before you start mounting your red dot sight, make sure your pistol is completely unloaded and safe to handle. Safety is your top priority before any red dot installation.
When you begin mounting, use the right adapter or mounting plate designed for your pistol’s slide to guarantee a secure fit. Pay close attention to the alignment of the red dot with your firearm’s bore; proper alignment is essential for accuracy.
Once the sight is in place, check that the red dot powers on and adjust the brightness to suit your shooting environment. Finally, verify all mounting screws are tightened firmly so the sight remains stable. Taking these preparatory steps ensures your pistol and red dot are ready for precise shooting.
Mount and Secure Your Red Dot Properly
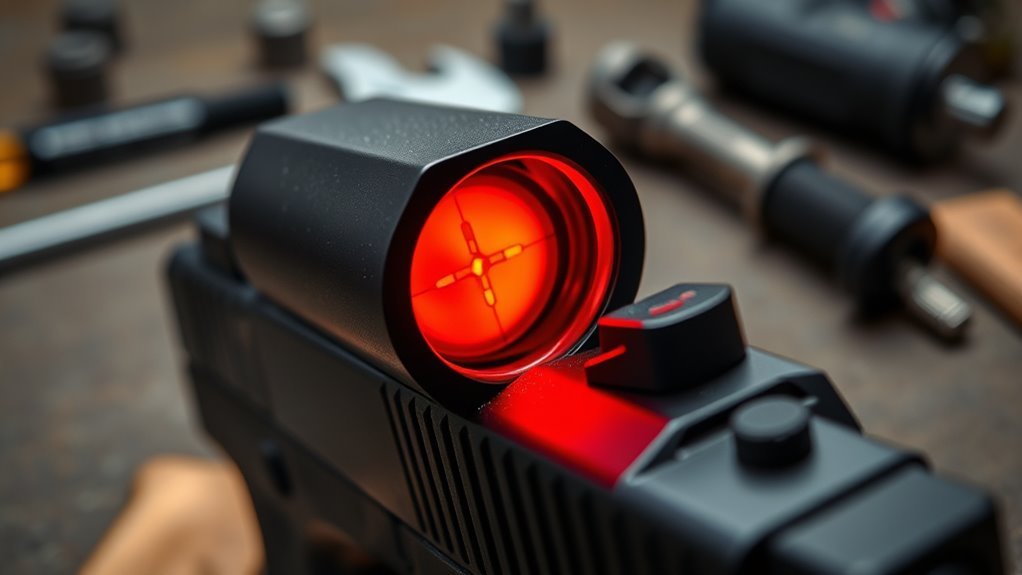
Start by choosing quality mounts that fit your pistol perfectly. Make certain you fasten the red dot securely, tightening screws to the right torque and using thread locker if needed.
Finally, verify the sight’s alignment to ensure accurate aiming every time you shoot.
Choose Quality Mounts
Choosing the right mount is essential for keeping your red dot secure and accurate on your pistol. Opt for high-quality mounts made from durable materials like aluminum or titanium to guarantee stability and longevity. Before tightening, verify the mount’s alignment with your firearm’s bore to maintain proper zero.
Use the manufacturer’s recommended torque specifications when fastening screws to prevent any movement during recoil. Applying Blue Loctite to the screw threads adds extra security against loosening over time. To monitor screw tightness, mark their positions with a permanent marker or paint.
This way, you can quickly spot any shifts after use. By selecting a quality mount and ensuring proper alignment and torque, you’ll keep your red dot reliably fixed and ready for action.
Ensure Secure Fastening
Once you’ve selected a quality mount and made sure it’s properly aligned, securing your red dot firmly is the next step. Start by cleaning the mounting surface on your pistol to remove any debris. Apply Blue Loctite to the threads of the mounting screws to assure secure fastening and reduce the chance of loosening during use.
Tighten the mounting screws to the manufacturer’s specified torque; overtightening or undertightening can cause instability. To monitor any movement over time, mark the screw positions with a permanent marker or paint. After extended shooting sessions, check the screws and re-tighten if necessary.
Following these steps guarantees your red dot stays firmly attached, maintaining reliability and accuracy when you need it most.
Verify Proper Alignment
Two key factors guarantee your red dot performs accurately: proper alignment with your firearm’s bore and secure mounting. First, confirm the red dot sight is perfectly aligned during installation to maintain zero. Check that it’s mounted at the correct height and position, matching your shooting stance and grip for consistent alignment.
Tighten all mounting screws to manufacturer specs and use a thread-locking compound like Blue Loctite to prevent loosening from recoil and vibration. After shooting or rough handling, regularly inspect and re-tighten the hardware to keep the zero intact.
Proper alignment and steadfast mounting ensure your red dot stays on target shot after shot, giving you confidence in every trigger pull.
Zero Your Red Dot at Optimal Distance
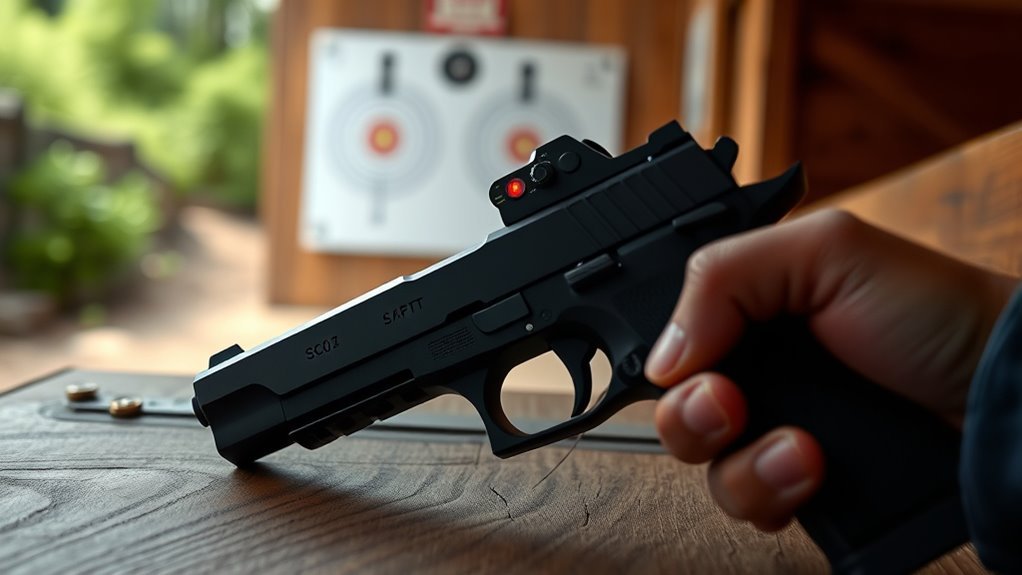
You’ll want to zero your red dot at around 10 yards for the best balance between accuracy and practical use.
Start by securing your pistol on a stable platform and fire groups to see where your shots land. Then, make small adjustments to the elevation and windage until your point of aim matches your point of impact consistently.
Ideal Zeroing Distance
Although some shooters prefer zeroing their red dot at 15 yards for specific training, setting your pistol’s red dot at 10 yards offers the best balance for close- to mid-range accuracy. Zeroing distance at 10 yards guarantees your shots stay within a few inches of the point of aim out to about 75 yards, making it ideal for most defensive and practical shooting scenarios.
When you zero at this distance, you simplify adjustments, helping you maintain accuracy without overcomplicating the process. To get it right, fire test shots at 10 yards, make precise adjustments to your sight, and confirm consistent point of impact.
This approach sets a solid foundation for reliable shooting with your red dot on the pistol.
Zeroing Procedure Basics
When zeroing your red dot sight, start at about 10 yards to guarantee your point of aim matches the point of impact for most practical uses. Begin by setting your firearm on a stable platform with it unloaded and securely mounted. Adjust the elevation and windage controls incrementally to achieve precise alignment between the red dot and your target.
After making initial adjustments, fire multiple shots to confirm consistent grouping at your zero distance. Check your alignment at different distances within your typical engagement range, making fine tweaks as needed to maintain accuracy.
Remember to regularly re-zero your red dot sight after any impact or adjustment to ensure reliable shot placement. This basic zeroing procedure helps you maximize your pistol’s effectiveness and accuracy.
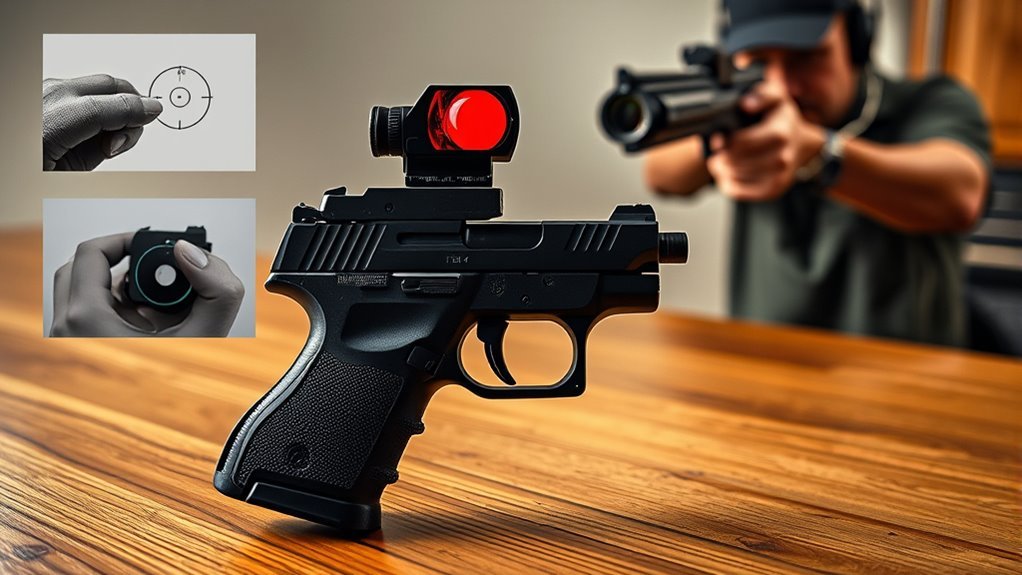
Learn to Focus on the Target, Not the Dot
Focusing on the target where you want the bullet to hit, rather than the red dot itself, speeds up your shot and improves accuracy. To make this a natural skill, follow these steps:
- Focus on the target point, not the red dot, so your brain aligns the shot instinctively.
- Keep both eyes open to maintain situational awareness while superimposing the red dot on the target.
- During dry fire practice, intentionally look at the target and verify the red dot is aligned, not fixated on the sight.
- Develop the habit of avoiding direct eye contact with the dot, especially during rapid or timed shooting drills.
Use the Tape Trick to Improve Target Focus
If you want to train your eyes to see the red dot as part of the target, try the tape trick. Place opaque tape over the front window of your red dot optic to block the reticle and lens. Look through the optic and focus on the target, letting the red dot appear against the black tape background.
This method helps improve your target focus by training your eyes to treat the dot as part of the target, not a separate element. During your dry fire routine, watch the red dot’s movement but keep your focus on the target, reinforcing your learning to use the sight naturally.
Adjust or reapply the tape as needed, and be patient—this trick develops solid target focus over time without relying on the tape.
Master Two-Eyes-Open Red Dot Shooting for Awareness
Keep both eyes open when shooting with your red dot to maintain full peripheral vision and situational awareness. Focus on the target itself, not just the reticle, to improve your speed and accuracy.
This technique helps you react faster and stay aware of your surroundings in any scenario.
Maintain Both Eyes Open
Although it may feel instinctive to close one eye when using a red dot on your pistol, maintaining both eyes open considerably enhances your situational awareness and target acquisition speed.
Keeping both eyes open improves depth perception, reduces eye strain, and prevents tunnel vision, making your aiming more natural and effective.
Here’s why you should practice this technique:
- Your non-dominant eye tracks movement and potential threats while your dominant eye focuses on the red dot.
- Both eyes open help you maintain better situational awareness during dynamic scenarios.
- It speeds up target acquisition by allowing faster recognition and alignment.
- Practicing with both eyes open builds consistency and reduces reaction time.
Mastering this step will make your shooting sharper and your awareness stronger.
Enhance Situational Awareness
Why should you master two-eyes-open red dot shooting to boost your situational awareness? Keeping both eyes open lets you maintain full awareness of your environment while aiming, essential for spotting threats quickly. Focus on the target, not just the sight, to improve your target focus and react faster.
Try occluded shooting techniques, like taping the front lens, to sharpen your target focus and enhance situational awareness. Regular training builds muscle memory, enabling rapid target acquisition without losing track of your surroundings.
Incorporate real-world drills that simulate potential threats to strengthen your ability to identify dangers and respond immediately. By practicing two-eyes-open shooting consistently, you’ll improve your situational awareness and overall effectiveness with a red dot sight on your pistol.
Practice Drawing and Acquiring Your Red Dot Quickly
A smooth, consistent draw is essential for quickly acquiring your red dot sight. To develop quick acquisition and confidently place the red dot on your target, follow these steps:
- Practice drawing your pistol smoothly while bringing the red dot into your line of sight simultaneously.
- Present the firearm the same way every time to guarantee the red dot appears naturally on target.
- Use dry fire drills to time how fast you can locate the red dot after the draw.
- Incorporate live-fire repetitions at close range to build muscle memory and improve speed.
Train Trigger Control While Watching the Red Dot
When you train trigger control while watching the red dot, you guarantee each shot stays accurate and consistent. Focus on the red dot as you slowly pull the trigger, keeping the dot steady on the target throughout the trigger squeeze.
Training trigger control by watching the red dot ensures each shot remains accurate and consistent.
Practice dry firing by smoothly pressing the trigger without disturbing the red dot’s position. Watch for any movement of the red dot during the trigger pull to spot flinches or anticipation that could harm accuracy.
Use a controlled, deliberate trigger squeeze—avoid jerking or slapping the trigger—to maintain consistent dot placement. Incorporate pauses between shots to confirm the red dot stays steady, reinforcing proper trigger control during both dry fire and live fire drills.
This disciplined approach sharpens your precision and builds muscle memory.
Fix Common Red Dot Problems Fast
Mastering trigger control while keeping the red dot steady is key to accuracy, but even the best technique can’t overcome equipment issues.
When your red dot acts up, here’s how to fix common problems fast:
- Check and tighten the mounting screws regularly—loose mounting can shift your zero unexpectedly.
- Inspect the lens for damage or dirt; clean it gently with a microfiber cloth to keep the reticle clear.
- Replace the battery every 1-2 years or when you notice flickering to avoid sudden power failures.
- Have backup sights ready so you can switch quickly if the red dot fails.
Maintain Your Red Dot and Reconfirm Zero Regularly
Although your red dot sight is designed for durability, you’ll want to check and tighten the mounting screws regularly to prevent recoil or vibrations from shifting your zero. Zero shifts can seriously affect your accuracy, so it’s essential to reconfirm your zero at least quarterly or after any significant impact or exposure to harsh conditions.
Use a bore sight or zeroing target to verify that your red dot remains aligned with your point of aim. Don’t forget to replace batteries proactively before they run out, ensuring consistent brightness and reliable performance.
Ultimately, perform routine function checks, including reticle brightness and clarity, to maintain maximum visibility and accuracy. Staying on top of these steps keeps your red dot ready for any situation.
Frequently Asked Questions
Can I Use a Red Dot Sight on Any Pistol Model?
You can’t use a red dot sight on every pistol model because not all slides are cut for optics.
You’ll need a pistol with an optic-ready slide or get a mounting plate to fit the red dot properly.
How Long Do Red Dot Batteries Typically Last During Use?
Red dot batteries typically last between 1,000 to 50,000 hours, depending on the model and brightness settings.
You can expect most to run several years with regular use before needing a replacement.
Are Red Dot Sights Waterproof or Weather-Resistant?
You won’t worry about raindrops blurring your aim—red dot sights are typically weather-resistant, some even waterproof.
They’re built tough, letting you trust your pistol’s sight in fog, rain, or dust without losing clarity or function.
What Is the Best Way to Clean a Red Dot Lens?
You should clean your red dot lens gently using a microfiber cloth and lens cleaner designed for optics. Avoid harsh chemicals or rough materials to prevent scratches, ensuring a clear sight picture every time you shoot.
Handle the lens with care and clean it regularly to maintain optimal performance. This careful maintenance helps extend the life of your red dot sight.
Can Red Dot Sights Be Used Effectively in Low-Light Conditions?
Can you see clearly in the dark without a light source? You can use red dot sights effectively in low-light conditions since their illuminated reticles enhance visibility, helping you acquire targets quickly even when ambient light is minimal.
Conclusion
With your red dot gleaming like a guiding star, you’re ready to transform every shot into a laser-focused strike. Keep your sights locked, your trigger steady, and your practice consistent—just like tuning a finely crafted instrument.
Remember, each session sharpens your aim, turning the dance between you and your pistol into a seamless symphony of precision. Stay sharp, maintain your gear, and watch your confidence blaze as bright as that glowing red dot.
By following these 10 steps to use a red dot on your pistol, you’ll enhance accuracy, improve target acquisition, and elevate your shooting skills to new heights. Consistent practice and proper maintenance are key to mastering your red dot sight and becoming a confident marksman.