How to Sight a Pistol in 7 Simple Steps
To sight your pistol in 7 simple steps, start by ensuring your firearm is unloaded and safely set up with secure sights. Proper pistol sighting is essential for accuracy and confident shooting. Choose your zeroing distance and a clear target before proceeding.
Next, fire 1-2 steady shots to check the impact points on the target. Measure any deviations from your aim point and calculate the necessary sight adjustments. Then, carefully tweak the sights to correct your aim.
Confirm your zero with follow-up shots, maintaining a consistent grip and stance throughout the process. Keep practicing at varied distances to build reliability and accuracy.
Explore these steps further to perfect your shooting skills and become a more proficient marksman.
Key Takeaways
- Ensure the pistol is unloaded and securely mounted with stable sights before starting the sighting process.
- Choose a zero distance (e.g., 10 or 25 yards) and set up a clear, stable target with visible aiming points.
- Fire 1-2 shots from a steady rest, aiming precisely at the marked target point to observe initial shot placement.
- Measure shot deviations, calculate MOA, and adjust sights incrementally following manufacturer guidelines.
- Confirm zero stability by firing multiple shots, maintaining consistent grip and stance, then document settings for future reference.
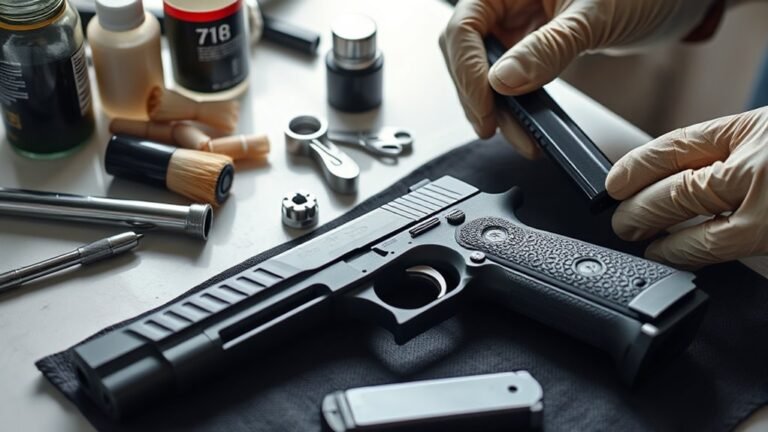
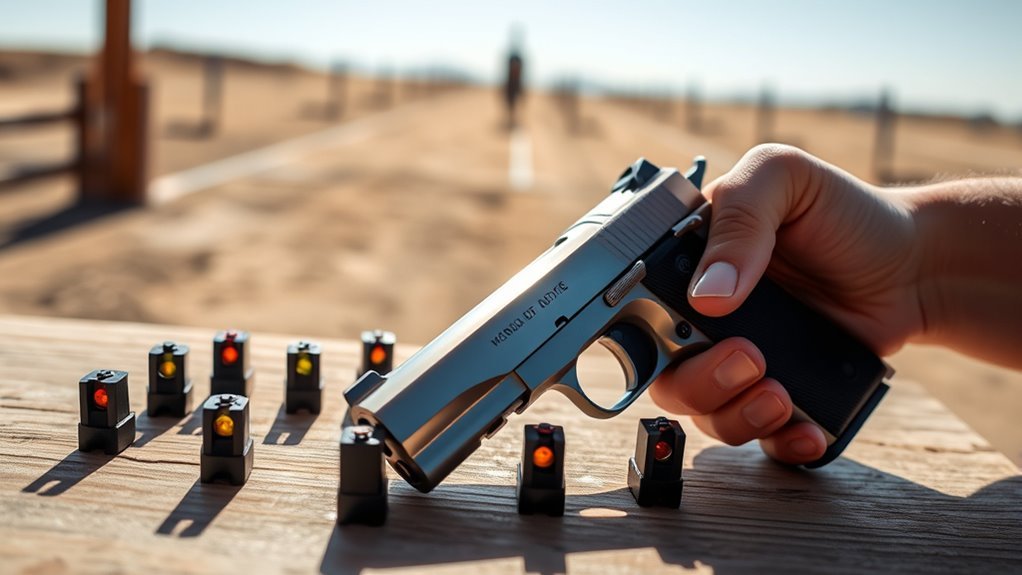
Prepare Your Pistol and Safety Setup for Zeroing
Before you begin zeroing your pistol, make sure it’s completely unloaded and the chamber is clear to guarantee safety. This step is essential to prevent any accidental discharges while you work.
Next, check that your red dot or iron sights are securely attached using the proper mounting hardware. Loose mounts can throw off your accuracy, so tighten everything firmly before proceeding.
Use a stable shooting rest or platform to keep your pistol steady—this consistency helps you zero the gun precisely. Double-check all sight adjustments and mounting hardware one last time to prevent shifts during the process.
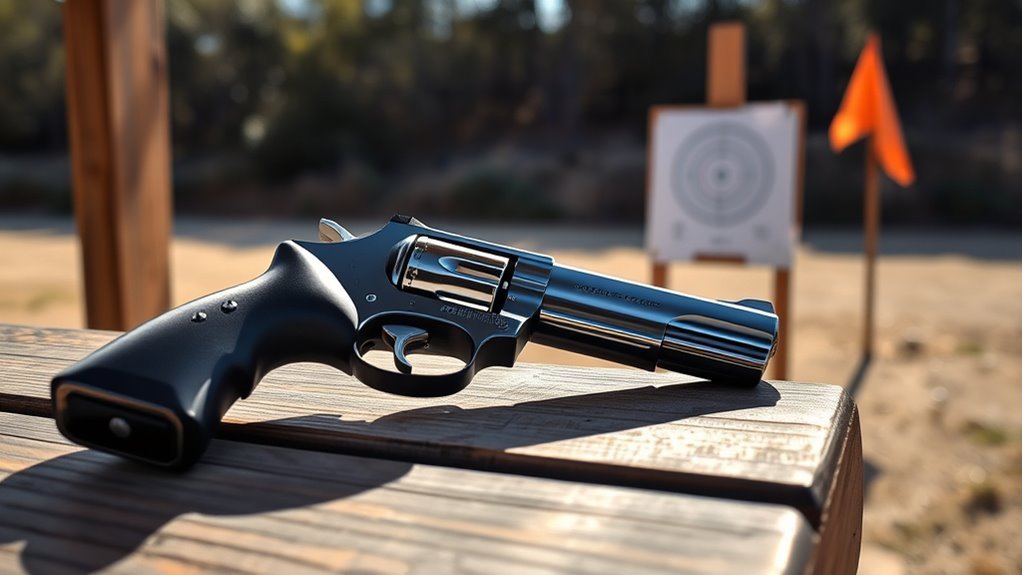
Choose Your Zeroing Distance and Target Setup
Choose a zeroing distance that matches your shooting goals, like 10 yards for close defense or 25 yards for accuracy. Set up a target with clear aiming points and make sure it’s securely mounted and easy to see.
Keep your shooting environment consistent so you can accurately assess and adjust your sights.
Selecting Optimal Zero Distance
How far should you zero your pistol to guarantee the best accuracy for your needs? Your choice of zero distance directly affects your point of impact and overall shooting effectiveness. For concealed carry or self-defense, zeroing at 10 yards offers a quick, reliable aiming solution.
If you’re into target shooting or competition, a 25-yard zero distance balances accuracy at both close and longer ranges. Keep in mind, longer zero distances may cause your point of impact to be higher at shorter ranges.
To guarantee precision, use a consistent target setup—like a grid or high-contrast aiming point—so you can clearly see where your shots land. This approach helps you fine-tune your sights for peak performance tailored to your shooting discipline.
Target Types And Placement
When zeroing your pistol, selecting the right target and placing it correctly at your chosen distance is essential for accurate sight adjustments. Choose a target with clear grid lines or high-contrast markings to simplify impact assessment. Your zeroing distance depends on your purpose—10 yards works well for concealed carry, while 25 yards suits general practice.
Guarantee your target placement is stable and at the exact zeroing distance you’ve selected. Position the target so you have enough space to observe multiple shot groups, helping you identify consistent points of impact. Adjust the target’s height and angle for clear visibility and easy access during shooting.
Proper target types and placement help you make precise sight corrections, improving your accuracy efficiently.
Preparing Shooting Environment
Where you set your zeroing distance and how you arrange your target can make all the difference in sighting your pistol accurately. Choose a zeroing distance that fits your shooting purpose—commonly 10 or 25 yards. Set up a stable target at this distance, making sure it’s clearly visible with grid lines or high-contrast aiming points to measure your shot impacts precisely.
Your target setup should be secure to avoid any movement during shooting. In your shooting environment, find a well-lit area free from distractions that could break your focus. Always use a stable position, like a bench rest, to minimize movement and maintain consistency.
This preparation guarantees your sighting process is both accurate and reliable every time you practice.
Fire Initial Shots to Assess Point of Impact

Start by firing 1-2 shots from a steady position at your chosen zero distance.
Watch where the bullets land compared to your aim, noting any shifts left, right, high, or low.
This initial impact group helps you understand how your sights need to be adjusted.
Initial Shot Placement
Although it might feel tempting to dive straight into adjustments, you’ll want to fire 1-2 shots at a target from about 5 yards, aiming precisely at a marked grid intersection. Your initial shot helps establish a baseline for where your pistol is actually hitting compared to your point of aim. Use a stable shooting platform or rest to reduce human error during this critical step.
Carefully observe the target placement and note where the bullets land relative to that point of aim. Measuring the horizontal and vertical deviation in inches will guide your next moves. Recording these impact points is essential, as it provides the data you need for accurate sight adjustments.
This initial shot placement sets the foundation for properly zeroing your pistol.
Assessing Impact Group
After firing your initial shots and noting their placement, the next step is to closely assess the impact group on your target. Fire 1-2 shots from a consistent, close distance to observe where they land relative to your point of aim. Use a target with a grid or high-contrast markings to measure the deviation accurately.
Measure the distance between your point of aim and the actual impact points to determine the necessary sight adjustments. Keep your shooting position steady and maintain a proper grip to guarantee consistent shot placement during this phase. Record each shot’s impact to evaluate the group size and placement.
This helps you understand how much and in which direction you need to adjust your sights for better accuracy.
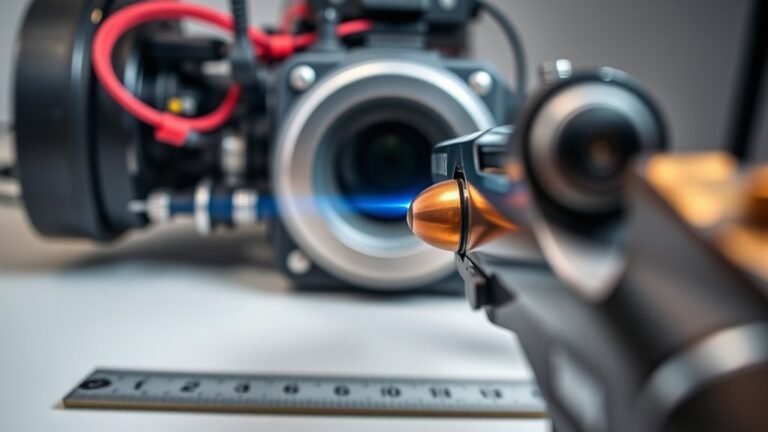
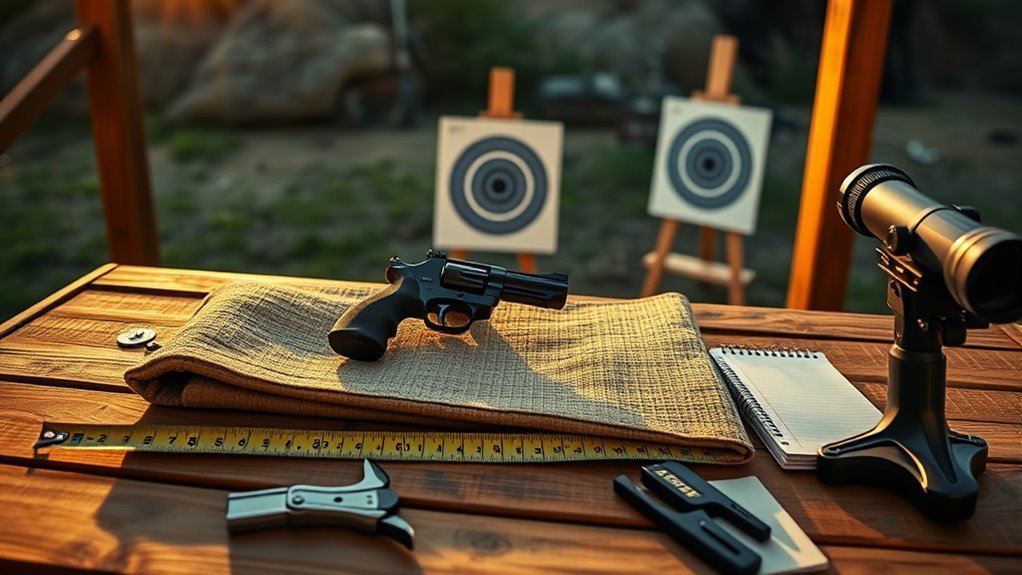
Measure Shots and Calculate Sight Adjustments
When you measure the distance from your pistol to the target and record where your shots land relative to your point of aim, you set the foundation for accurate sight adjustments. Use a ruler or calipers to measure the horizontal and vertical deviation between the point of impact and point of aim in inches or centimeters.
Next, convert this deviation into MOA by dividing the distance in yards by 100 and multiplying by the deviation—for example, 2 inches at 25 yards equals about 8 MOA. Based on this calculation, you can make precise adjustments to your sights following the manufacturer’s guidelines.
After adjusting, fire another shot to verify the point of impact aligns with your aim, repeating as needed until your pistol is properly sighted.
Adjust Your Sights for Windage and Elevation
Since precise sight adjustments are essential for accuracy, you’ll want to carefully tweak your pistol’s windage and elevation using the rear sight screws. Windage adjustments move your point of impact left or right by turning the rear sight screw in small, precise clicks—usually about ½ MOA per click, shifting impact roughly ½ inch at 10 yards. If your shots land left, turn the screw right, and vice versa.
Elevation adjustments raise or lower the point of impact by altering the sight’s height, also in incremental clicks. Always make small adjustments and avoid large swings. After each tweak, shoot again to see how the changes affect your grouping.
This careful process ensures your pistol’s sights are dialed in precisely for consistent accuracy.
Confirm Your Pistol Zero With Follow-Up Shots
To make certain your pistol zero holds true, you’ll want to fire a group of 3 to 5 shots at your target and measure how close the impacts are to your point of aim. This measurement helps you assess if further adjustments are necessary.
Fire 3 to 5 shots and measure impact placement to verify if sight adjustments are needed.
For zero confirmation, follow this process:
- Fire initial shots and note the deviation between point of impact (POI) and point of aim (POA).
- Adjust your sights incrementally—typically ½ MOA per click—based on your measurement.
- Repeat firing and measurement with follow-up shots until your group consistently hits the POA.
Confirming your zero with follow-up shots ensures your pistol maintains accuracy over time and distance, giving you confidence in your sighting adjustments.
Build Consistency With Your Zeroed Pistol
Although you’ve zeroed your pistol, maintaining consistent shot placement requires more than just initial adjustments. To build consistency, always use the same stance, grip, and focus on precise sight alignment during each shot.
Regular practice at your zero distance and beyond helps reinforce muscle memory, while recording your zero settings and load details ensures you can replicate accurate conditions every time. Using a stable rest minimizes human error and improves shot groups.
Ultimately, maintain a steady trigger pull to preserve your zero and boost accuracy.
| Key Practice | Purpose |
|---|---|
| Consistent grip | Ensures reliable zeroing |
| Sight alignment | Maintains precise shot placement |
| Record zero settings | Replicates shooting conditions |
| Stable rest | Reduces human error |
Frequently Asked Questions
What Is the Best Way to Sight in a Pistol?
The best way to sight in a pistol is to start close, use a stable rest, fire grouped shots, and adjust sights based on impact. Use your regular ammo to ensure consistency.
Confirm zero at various distances for consistent accuracy.
What Are the 7 Fundamentals of Shooting?
You don’t *need* the seven fundamentals: stance, grip, sight alignment, sight picture, breathing, trigger control, and follow-through—unless you want to actually hit the target instead of just looking cool holding a pistol.
What Is the 3-3-3 Rule in Self-Defense?
The 3-3-3 rule means you should draw, aim, and neutralize a threat within 3 seconds.
You’ll train to react quickly under pressure, building muscle memory and improving your chances to stay safe in dangerous situations.
What Is the Basic Rule for Sight Adjustment?
You adjust your pistol sights opposite to where your shots land; if shots hit left, move the sight right.
Make small tweaks, check your grouping, and keep adjusting until your point of impact matches your target.
Conclusion
Sight your pistol like a captain setting a course—each adjustment a compass point guiding you closer to precision. With every shot, you chart your path, turning uncertainty into confidence.
By following these steps, you’re not just zeroing your pistol; you’re mastering control, making your aim as steady as a lighthouse beam cutting through the fog.
Keep practicing, and your pistol will become an extension of your focus and skill. Proper sighting techniques and consistent training are key to achieving accuracy and reliability in every shot.