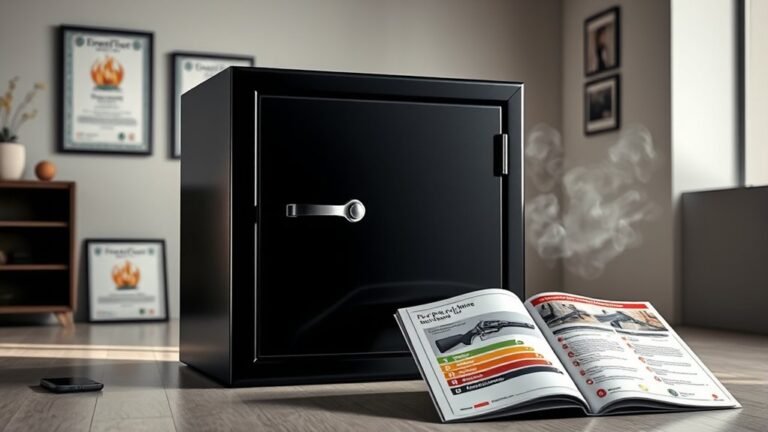
How Can You Remove a Gun Safe Door in 10 Simple Steps?
To remove a gun safe door safely and efficiently, start by gathering all necessary tools and safety gear. Disconnect any locks and wiring attached to the door. This preparation helps ensure a smooth removal process without damage.
Next, mark the hinge locations clearly to make reinstallation easier later. Support the door securely before carefully removing the upper hinge pin.
Having a helper lift the door straight up is important to avoid tilting or strain.
Be mindful of common issues like misaligned hinges during removal. Handle all parts gently to prevent any damage.
Follow these steps carefully, and you’ll be able to reinstall the door smoothly and safely.
Keep going to master each detail and become confident in removing and reinstalling your gun safe door.
Key Takeaways
- Prepare necessary tools, safety gear, and a clean workspace before starting the door removal process.
- Disconnect all locks and wiring carefully, labeling connections for easy reinstallation.
- Mark hinge positions clearly to ensure proper alignment during reattachment.
- Support the door securely, remove hinge pins carefully, and coordinate lifting with assistance.
- Reinstall the door by aligning hinges, inserting pins, and testing lock and door functionality.
Understand Why Removing the Gun Safe Door Helps

Although gun safes are designed to be sturdy and secure, removing the door can make moving them much easier. The door alone can weigh hundreds of pounds, so taking it off reduces the safe’s overall weight by about one-third. This weight reduction lets you handle the safe more comfortably and safely.
Plus, separating the door makes it simpler to navigate narrow doorways or tight stairwells without risking damage or injury. You can transport the heavy door separately, which prevents strain and accidents. Removing the door also helps if you need to repair or modify the locking mechanism since you won’t have to move the entire safe.
Understanding these benefits shows why tackling the door first is a smart move before relocating your gun safe.
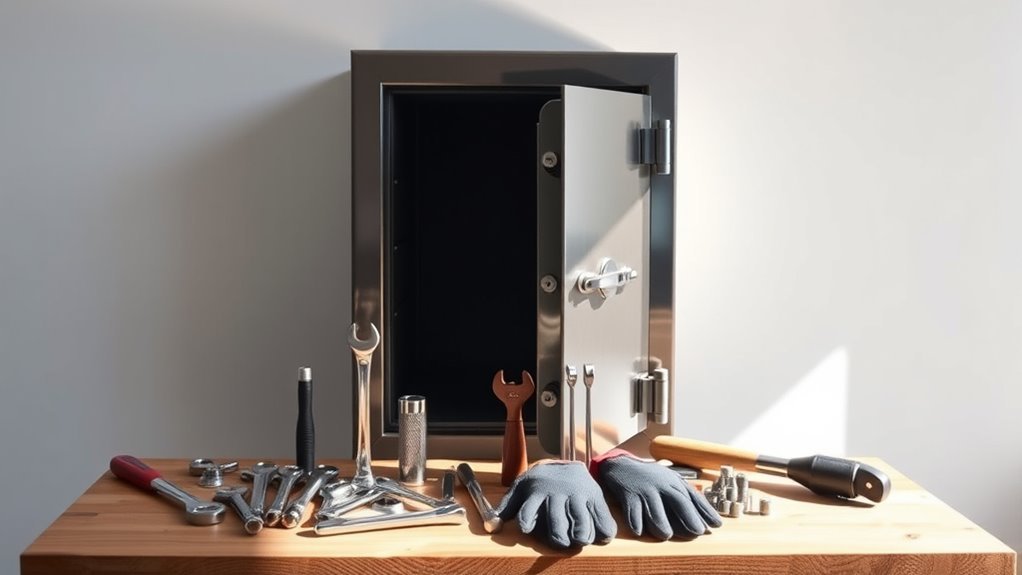
Get the Tools and Safety Gear You’ll Need
You’ll need to gather essential tools like a pry bar, adjustable wrenches, and safety gloves before starting. Don’t forget protective gear such as goggles to keep yourself safe from sharp edges and debris.
Also, prepare a well-lit, clean workspace to make the removal process smoother and safer.
Essential Tools Checklist
Before you start removing your gun safe door, gather the essential tools and safety gear to make the process smoother and safer. You’ll need tools like a pry bar, flathead screwdriver, adjustable wrench, and a power drill with the right bits. These will help you carefully dismantle the door without causing damage.
Also, prepare lifting aids such as a furniture dolly or straps to handle the door’s weight safely. Keep a level or support stands nearby to stabilize the door once it’s off. Don’t forget to have a detailed plan or diagram of your safe’s hinge and lock mechanisms; this will guide you through proper disassembly.
Having these tools ready guarantees you work efficiently and reduce risks during removal.
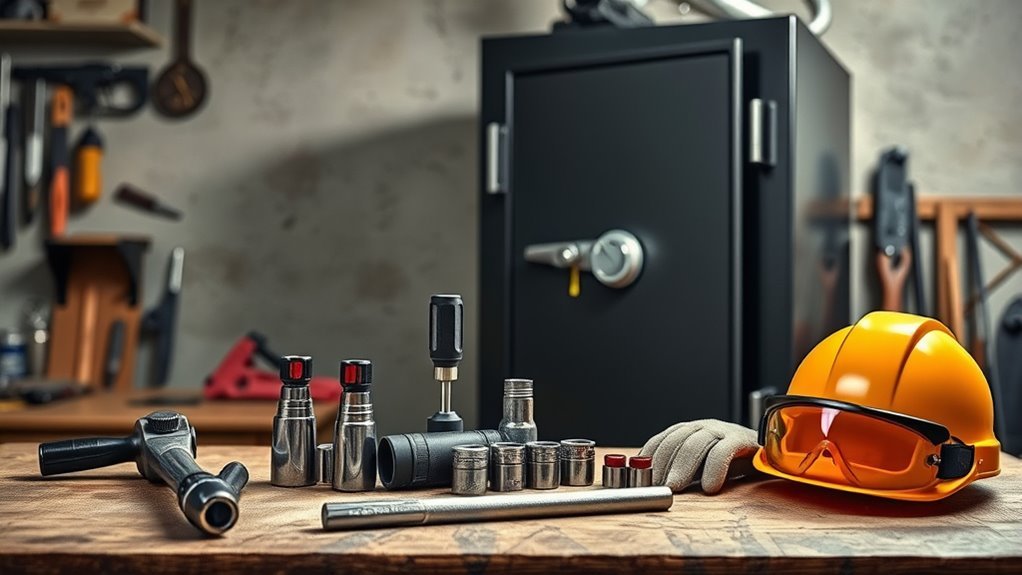
Protective Gear Importance
Gathering the right tools is only part of the job; protecting yourself during gun safe door removal is just as important. Wearing proper protective gear keeps you safe from potential hazards. Always put on safety goggles to shield your eyes from debris and sparks.
Heavy-duty gloves are a must to prevent cuts from sharp edges or rough surfaces on the door and hinges. If you’re working in a confined space or grinding, a dust mask or respirator will safeguard your lungs from harmful dust particles. Don’t forget protective clothing or long sleeves to guard your skin against scrapes and pinches.
Using the right protective gear ensures you can focus on removing the door efficiently without risking injury.
Preparing Safe Work Area
While preparing to remove your gun safe door, clear a spacious, clutter-free area to move the door safely and avoid tripping hazards. This space will help you handle the heavy Liberty Safe door and its hinge during removal and putting the door back.
Gather essential tools like a pry bar, socket set, and ratchet straps, and consider a hydraulic jack or engine hoist for lifting if needed. Wear heavy-duty gloves, safety glasses, and steel-toed boots to protect against sharp edges and heavy parts.
Use blankets or cardboard to shield the door and nearby surfaces from scratches. Finally, make certain you have enough help to control the door’s weight and avoid accidents while removing the door or installing it back onto the safe.
Disconnect Locks and Wiring Before Removal
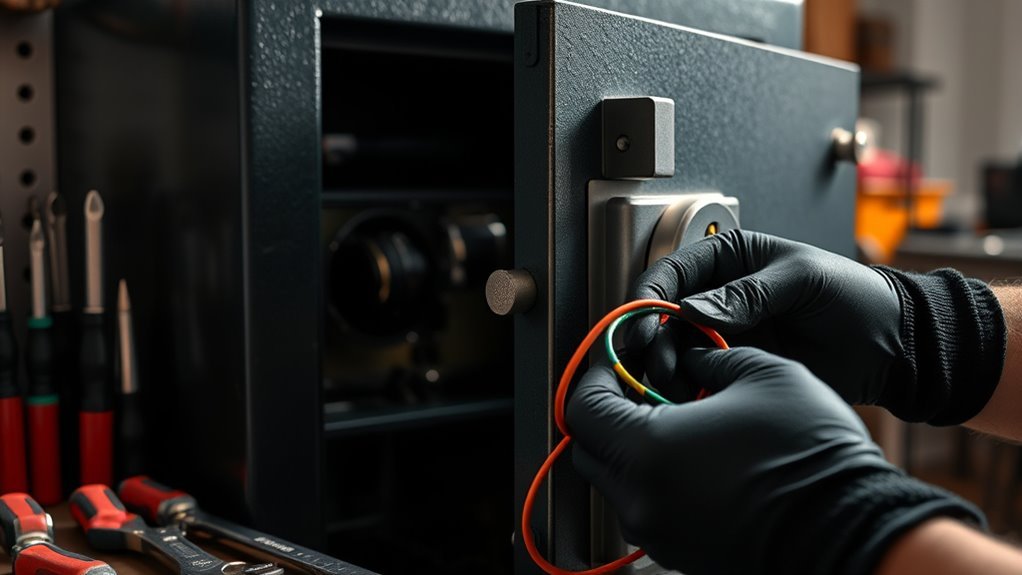
Since electronic locks and wiring are delicate, you’ll want to disconnect them carefully before removing the safe door. Start by ensuring the power source is disconnected or the battery is removed to prevent electrical shocks or accidental lock activation.
Next, locate all wiring harnesses connected to the door, including keypad wiring and internal sensors. Use proper tools like needle-nose pliers or a screwdriver to gently unplug connectors without pulling on the wires directly.
To make reinstallation easier, label or photograph each wiring connection before disconnecting. Taking these precautions helps prevent damage to the wiring and electronic components, keeping your safe’s locking system intact and ready for accurate reattachment once the door is removed.
Locate and Mark Hinges for Easy Reinstallation
Before you remove the safe door, locate the hinges carefully, usually found near the top and bottom edges. Marking these hinges clearly guarantees smooth reinstallation later. Here’s what you should do:
- Identify the exact hinge locations on the door and safe body
- Use a marker or painter’s tape to mark hinge pins or hinge lines
- Note the hinges’ orientation and direction for proper alignment
- If hinges are welded, mark their sides and positions relative to the door
Photograph or document hinge placement and markings for reference. Taking these steps helps you avoid confusion and keeps the hinges aligned when reattaching the door. Clear hinge markings make the entire process simpler and prevent mistakes during reinstallation.
How to Support Your Gun Safe Door During Removal
To prevent damage and guarantee safety, you’ll need a sturdy support stand or sawhorses to hold your gun safe door securely during removal. Place padded cushions or blankets between the safe door and the support to avoid scratches. Make certain the support is level and strong enough to bear the full weight of the door, preventing tipping or falls.
Position the support close to the hinges to minimize strain during removal, which protects the hinges and door frame. If your safe door is large or heavy, use straps or braces to secure it firmly to the support. Proper support during removal not only safeguards the door’s integrity but also keeps you safe by preventing unexpected shifts or drops.
How to Detach the Lower Hinge of Your Gun Safe Door
Now that your gun safe door is properly supported, it’s time to focus on the lower hinge. Understanding the hinge’s basic anatomy will help you safely detach the door without causing damage.
You’ll need to carefully lift the door and remove the hinge pin to free the lower hinge.
Lower Hinge Anatomy
Although the lower hinge might seem straightforward, detaching it requires careful attention to its design and components. The hinge connects the gun safe door to the safe body through sturdy plates and pins. To understand the lower hinge anatomy, keep these points in mind:
- Hinge plates are welded firmly to both door and safe body
- A hinge pin slides vertically through these plates
- Some hinge pins have retainers or clips securing them in place
- Certain safes feature welded or pin-in-place hinges, complicating removal
Proper support and gentle leverage prevent damage during detachment.
Knowing this anatomy helps you approach the hinge with the right tools and care, ensuring a smooth removal process without harming your gun safe.
Safe Door Detachment
How do you safely detach the lower hinge of your gun safe door without risking damage? First, make sure the safe is well supported to prevent shifting during door removal. Next, carefully pry or unbolt any welds or fasteners securing the door hinge to the safe, following manufacturer guidelines.
Use removal tools like a pry bar or hydraulic jack to gently lift and disengage the hinge pin from the lower hinge. If the hinge pin is welded or long, apply heat or specialized hinge removal tools to loosen it without harming the safe.
Once the hinge pin is free, support the door firmly and lift it away from the lower hinge. Proper support is essential to avoid dropping or damaging either the door or the safe.
Removing the Upper Hinge of Your Gun Safe Door Safely
Before you remove the upper hinge of your gun safe door, make sure the safe is stabilized and the door is securely supported to prevent any accidental falls. Next, carefully disconnect any locking mechanisms or internal parts attached near the upper hinge. Use the right tools, like a screwdriver or pry bar, to gently lift or remove the hinge pin without damaging the mechanism.
Watch out for ball bearings or special hinge features that might affect removal. Keep the door supported as you work.
- Stabilize the safe firmly
- Support the door securely
- Disconnect locks near the upper hinge
- Use proper tools to lift the hinge pin
- Handle ball bearings or special features cautiously
This guarantees you remove the upper hinge safely and efficiently.
Lift and Remove the Door From the Safe
Before lifting the door, check how the hinges are designed to know the best way to remove them. Make sure you have soft padding ready to protect the door and the floor during the process.
Coordinate with a helper to lift the door steadily and safely once everything is set.
Assess Door Hinge Design
Although safe doors commonly hinge on pins that lift upward for removal, you’ll need to carefully inspect whether your hinges are welded or designed to detach. Start by closely examining the hinge area to determine if pins can be removed or if the hinge is permanently fixed.
Look for visible hinge pins that slide out or lift up, weld marks sealing the hinge in place, limited movement indicating fixed hinges, length and position of hinge pins, and any locking mechanisms securing the hinge.
Understanding your hinge design helps you plan the precise lifting motion needed to clear the pins from their sockets. If hinges are welded, removing the door without specialized tools might be impossible. Always assess hinge type first to avoid damage and ensure a smooth door removal process.
Prepare Supportive Surfaces
When you’re ready to lift the safe door, place soft blankets or cardboard beneath it to protect your floors from scratches or dents. These supportive surfaces help cushion the door as you remove it.
Before fully lifting, position support stands or sturdy blocks under the door to hold its weight securely. Use straps or lifting hooks rated for the door’s weight to maintain control and balance during the process. This guarantees the door stays stable and prevents accidental falls or damage.
Gently pry the door away from the hinges, making sure it’s evenly supported on all sides. Taking these precautions with proper supportive surfaces keeps the removal safe and protects both your floor and the door itself.
Coordinate Lifting With Help
With supportive surfaces in place, coordinate with at least one other person to lift the safe door evenly. You’ll need help to avoid injury and protect the door’s integrity. Before lifting, agree on clear signals so you both move simultaneously.
Use proper lifting techniques to handle the weight safely.
Keep these points in mind when lifting the door:
- Support the door with soft padding or blankets
- Lift straight upward without tilting
- Communicate clearly throughout the process
- Keep your back straight and knees bent
- Make certain at least two people share the lifting effort
Common Problems When Removing Gun Safe Doors and How to Fix Them
Since removing a gun safe door involves delicate components like hinges and internal mechanisms, you can easily encounter common problems such as misalignment or damage. Misaligned hinges often result from bent pins or holes, making door reattachment tricky. Avoid welding or cutting hinge pins, as it causes permanent damage.
Using leverage tools incorrectly can bend hinges or break mechanisms. Properly label and handle internal parts to prevent wonky doors or uneven movement.
| Problem | Cause | Fix |
|---|---|---|
| Misaligned door | Bent hinge pins/holes | Realign or replace hinges |
| Damaged hinges | Misuse of leverage tools | Replace damaged hinges |
| Wonky door movement | Incorrect reassembly | Label parts, check bearings |
Handle hinges carefully to avoid these issues.
Reinstall Your Gun Safe Door Correctly
Before you start reinstalling your gun safe door, make sure the hinge pins and holes are clean and perfectly aligned. This step is essential to guarantee smooth operation after you remove the door. Support the door with a helper or lifting device to keep it level during installation.
Ensure hinge pins and holes are clean and aligned; support the door to keep it level during installation.
Carefully slide the hinge pins back into place, starting with the bottom hinge, then the top. Once secured, check that the door swings smoothly and closes properly. Finally, test the lock and handle to confirm everything works correctly.
- Clean and align hinge pins and holes
- Use support to keep door level
- Insert hinge pins starting from bottom
- Verify smooth swinging and closing
- Test lock and handle functions
Following these steps ensures your gun safe door is reinstalled correctly.
Frequently Asked Questions
How to Remove a Gun Safe Door?
You’ll first remove the hinge pins by sliding them out, then carefully lift the door upward with help if it’s heavy.
Use support tools and soft surfaces to avoid damage during removal.
How to Move a 400 Lb Safe Down Stairs?
Moving a 400 lb safe down stairs requires teamwork—you’ll need at least three people. Use a heavy-duty dolly, secure the safe with straps, and place blankets underneath to protect your floors and guarantee a smooth descent.
How to Take off a Door Without Unscrewing Hinges?
You can try lifting the door straight up to disengage it from the hinge pins, but if hinges are welded, you’ll need specialized tools or professional help to avoid damage.
Don’t force it yourself.
How to Remove an Old Safe?
Start by securing the safe’s space: empty everything and unplug electronics.
Slowly loosen hinges, support the heavy door with straps or a hoist, then lift carefully.
Set the door safely aside to avoid scratches or damage.
Conclusion
Removing your gun safe door is like taking the lid off a treasure chest—you’re granting access with care and precision. Just like a locksmith once told me, “Patience and the right tools turn a tough job into a smooth one.”
Follow these steps, and you’ll handle your safe door confidently, avoiding common pitfalls. Remember, every hinge you mark and wire you disconnect brings you closer to success, making the process feel less like a chore and more like opening peace of mind.
By mastering how to remove a gun safe door, you ensure safety, efficiency, and confidence throughout the task. These simple steps help you avoid damage and maintain the integrity of your safe. Embrace the process, and you’ll find removing your gun safe door easier than you imagined.